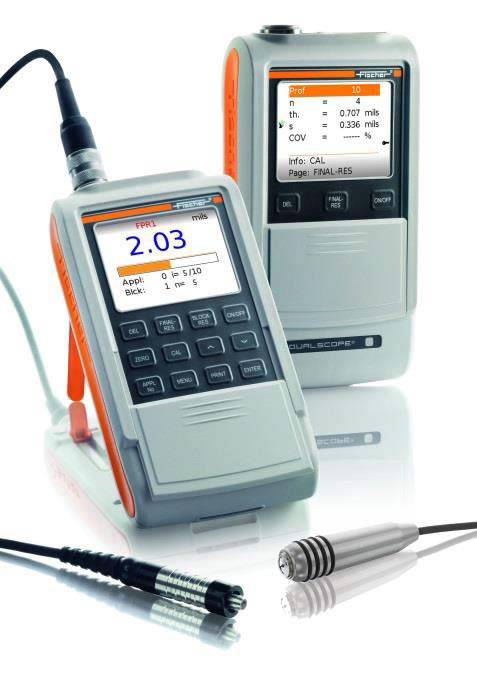
SURFACE PROFILE & COATING THICKNESS
with Helmut Fischer FMP-30. Probes, Profile FPR1 & Thickness V7FKB4
Advantage for the customer is to have one device with two probes which can be used for
coating thickness measurement but also for Roughness test.
Profile Measurement
Why Measure Surface Profile?
- If profile is too low the adhesion of the coating to the surface will be affected. Too high and the profile peaks may not be coated.
- As profile increases, surface area increases which means more coating is required.
- Achieving correct profile enables the correct amount of coating to be applied thus saving costs.Surface profile measurement according to ASTM 4417-11. Method B. Therefore, profile measurements of the surface by using the probe FPR1 are conform to many standards and guidance. ASTM D4417, Method B, SSPC PA17, AS 3894.5-C, U.S. NAVY NSI 009-32, SANS 5772 & others.
- Assessment of blasted surfaces whether they are appropriate for painting
Measuring Paint type Coatings on rough surfaces
Irregular surface structures, or “roughness” – as typically found on grey cast iron or sand-blasted steel
complicate the process of measuring the thickness of overlying paint layers. The unevenness of the
substrate’s surface can cause large fluctuations in the measured values. This leads to uncertainties in
the interpretation of the results and makes it difficult to monitor the coating process.
Surface Profile Measurement
To ensure that protective coating layers adhere and are of correct thickness levels.


