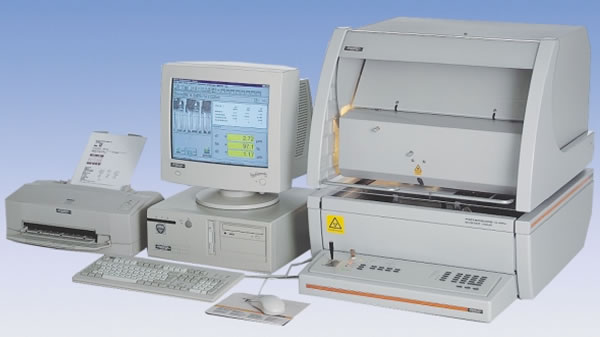
Non-destructive measurement of hard material coatings
• Coating thickness and material analysis according to the X-ray fluorescence method or the magnetic induction method
• To control your coating process and insure uniform coating distribution
• Martens hardness
• For inspection of cobalt leaching
Coating thickness measurement according to the X-ray fluorescence method Coating layers TiN, TiCN, TiAlCN, ZrN or CrN can be tested for correct thickness.
Precise, non-destructive measurements can be made manualy or with fully automated specimen positioning. Very small measurement spot, e.g. only 50×50 μm, means: the layers can be measured exactly where they undergo the highest degree of stress in practical use, namely at the cutting edges.


