
In This Issue: 1. Cover Story – Fischerscope XAN500, Coating Thickness & Coating Analysis XRF
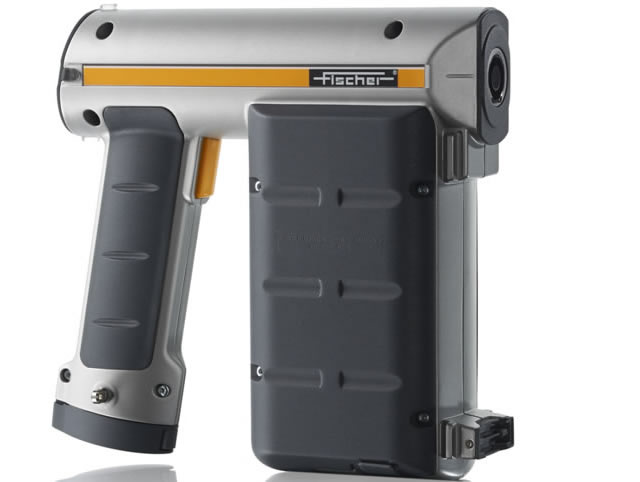
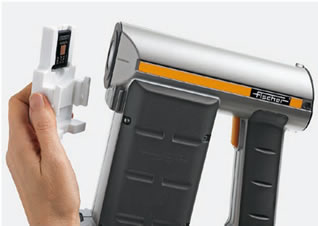
The FISCHERSCOPE® X-RAY XAN® 500 makes it possible to take reliable measurements even without standards via the fundamental parameter method. As a DAkkS-accredited institute, FISCHER also offers a broad selection of traceable calibration norms for every measurement task. That includes pure element standards, single and dual-layer standards, as well as complete calibration sets for a variety of applications. The instrument can be adapted to a specific measurement application by calibrating it with these calibration norms. Whenever layers must be measured or materials analysed during quality assurance, for pre-delivery inspection or in the production process – that is when high-precision mobile instruments are required. With the FISCHERSCOPE® X-RAY XAN® 500, FISCHER offers a portable measuring device that employs the X-ray fluorescence method (RFA). In the XAN® 500, FISCHER applies its long experience in precise coating thickness measurement to industry demands for process and quality control. The X-RAY XAN® 500 enables mobile measurement application on large and bulky parts using this handheld unit. Besides classic coating thickness measurements, the software also performs analysis of sophisticated, multi-layer systems and alloys. With the fundamental parameter method, it is possible to take measurements without previous calibration – that is, standard-free. The integrated Wi-Fi interface enables easy export, distribution or printing of test results.
• Flexible measurement options: calibration either with calibration standards for traceable measurements or using the integrated fundamental parameter method, when no norms exist • Evaluation and presentation of measurement data on a tablet PC (via Bluetooth) using proven WinFTM® software
The only Handheld XRF – Specifically designed for Coating Thickness & Analysis
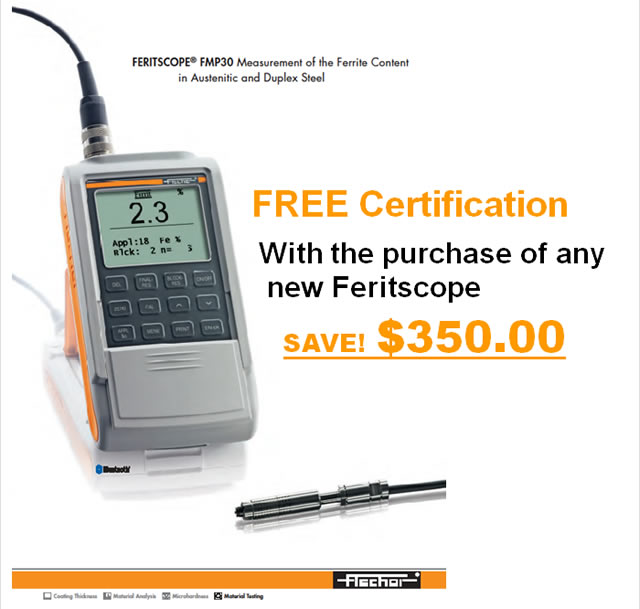
Save $350.00 off any new CERTIFIED FMP30 Feritscope
NEW – MP0R-FP-BT: Coating Thickness instrument Dualscope MP0R now with Bluetooth®
The MP0R-FP-BT has the same features and characteristics as the proven MP0R-FP, plus the Bluetooth® interface additional to the USB port. Key technical features:
as in the MP0R-FP instrument
with the Feritscope®
Abstract : Our Feritscope probes measure the d’-ferrite content of austenitic stainless steel and duplex ferritic-austenitic stainless steel (delta-ferrite percent and ferrite number, respectively). However these probes can also be applied to measure the strain induced a’-martensite content of austenitic stainless steel. A respective paper has been published dealing with the conversion between d’-ferrite content and a’-martensite content. The Feritscope-probes (EGAB1.3-Fe, FGAB1.3-Fe, FGA06H-Fe, …) are calibrated to measure the d’-ferrite content of austenitic stainless steel and duplex ferritic-austenitic stainless steel (delta-ferrite percent and ferrite number, respectively). A typical group of material measured to determine exclusively the d’-ferrite content are weld metals. This calibration is traceable to TWI secondary standards. However many customers are also interested in the strain induced a’-martensite content as a result e.g. of plastic deformation of metastable austenitic stainless steel. But the a’-martensite phase shows a different permeability than the d’-ferrite phase. Consequently our original manufacturer calibration is wrong in this application. A paper has been published investigating the relationship between the Feritscope readings and the actual a’-martensite content. This relationship has been proved with different measurement techniques. The respective Feritscope readings F (delta-ferrite %) can be converted to the a’-martensite content ca’ with the following simple linear equation : c (mass%) = 1.7 × F a ‘ This result should be very helpful for many new applications if the steel of interest only contains the a’-martensite phase and the customer doesn’t have his own reference standards for a new calibration. The conversion factor 1.7 could be easily implemented in the software at request. The following paper can be used as a reference (a copy can be provided at request) : J. Talonen, A. Aspegren; H. Hänninen „Comparison of different methods for measuring strain induced a’-martensite content in austenitic steels” Materials Science and Technology; Dec.2004; Vol. 20; p. 1506 H.-P. Vollmar (04.06.2009) hans-peter.vollmar@helmut-fischer.de and ulrich.sauermann@helmut-fischer.de |
The Best in Quality Service and Products for Non destructive testing


 Accurate and Precise Measurements
 •
•

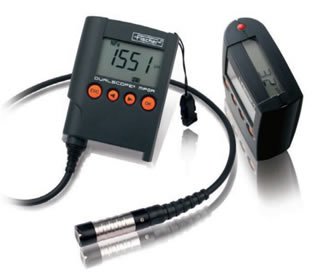 We are pleased to announce a new member of the MP0R family: DUALSCOPE MP0R-FP-BT.
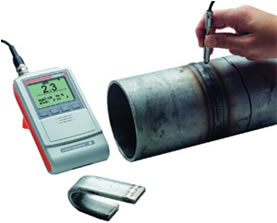 Measurement of the a’-martensite content